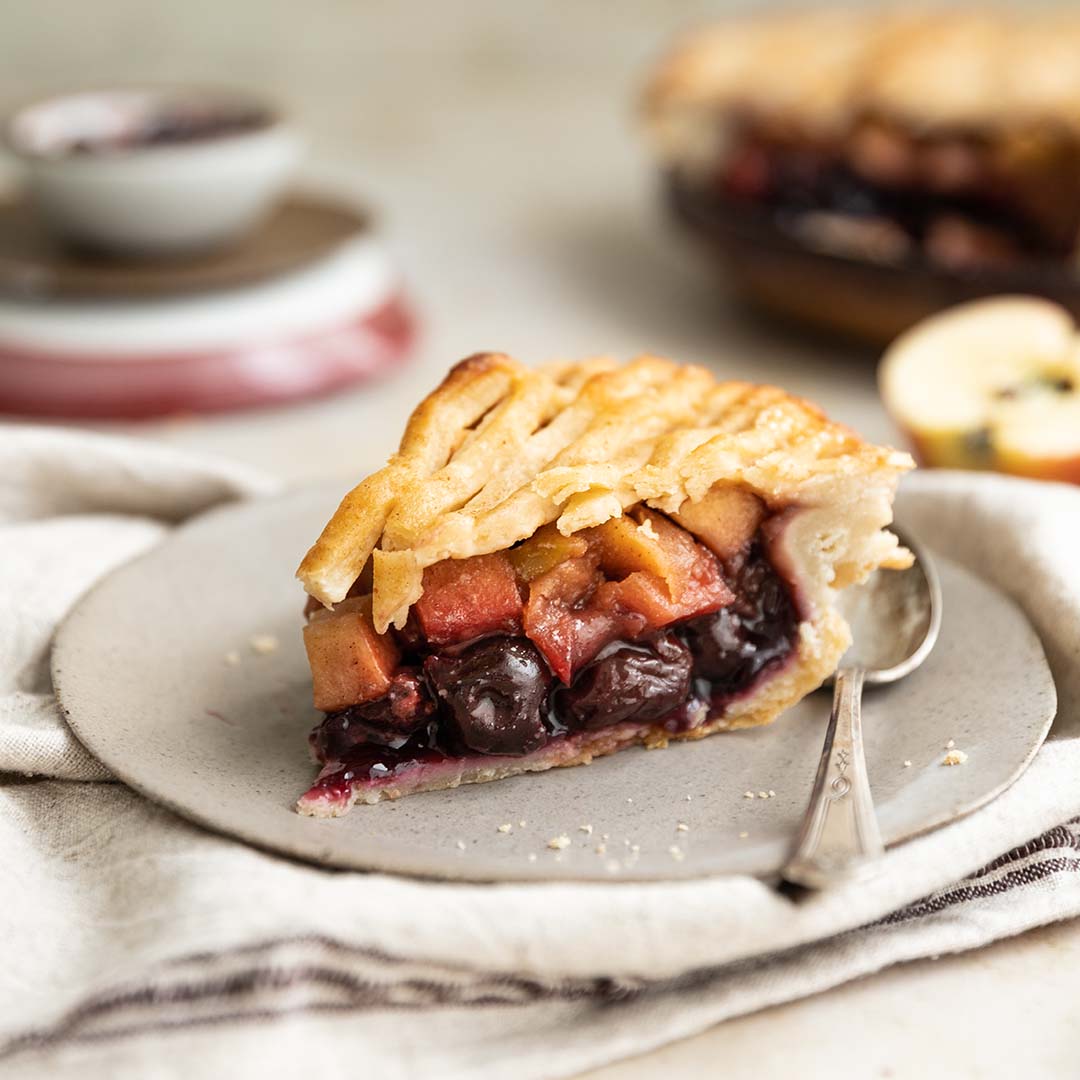
Pie crust is the unsung hero of many delectable desserts, from classic apple pies to savory quiches. A perfect pie crust should be tender, flaky, and flavorful—a delicate balance of ingredients and technique. Whether you're a novice baker or a seasoned pro, mastering the art of pie crust can elevate your baking game to new heights. In this guide, we'll explore the best way to make a pie crust from scratch and how to store it for later use.
Crafting the Perfect Pie Crust
Ingredients:
- Flour: All-purpose flour works well for most pie crust recipes, providing the right balance of gluten for structure and tenderness.
- Fat: Traditional choices include butter, shortening, or a combination of both. Butter adds flavor, while shortening contributes to flakiness.
- Liquid: Ice-cold water is essential for keeping the dough cold and preventing the fat from melting too quickly.
- Salt: Enhances flavor and helps to strengthen the gluten structure.
Steps:
-
Keep Ingredients Cold: Chill the flour, fat, and any liquid ingredients before starting. Cold ingredients are crucial for achieving a flaky crust.
-
Cut in Fat: Incorporate the fat into the flour using a pastry blender, fork, or your fingertips. The mixture should resemble coarse crumbs with some larger pea-sized pieces of fat remaining.
-
Add Liquid: Drizzle in the ice-cold water, a little at a time, mixing until the dough just comes together. Be careful not to overwork the dough, as this can result in a tough crust.
-
Form a Disc: Shape the dough into a disc, wrap it tightly in plastic wrap, and refrigerate for at least 30 minutes before rolling. This allows the gluten to relax and the fat to firm up, making the dough easier to work with.
-
Roll Out: On a lightly floured surface, roll the dough into a circle about 1/8-inch thick, turning and flouring the dough as needed to prevent sticking.
-
Transfer to Pie Dish: Carefully transfer the rolled-out dough to your pie dish, gently pressing it into place. Trim any excess dough from the edges and crimp as desired.
Storing Pie Crust for Later Use
If you're not planning to bake your pie right away, you can store the crust for future use. Here's how:
-
Refrigeration: Wrap the formed pie crust tightly in plastic wrap or aluminum foil and refrigerate for up to 2 days. This allows the dough to rest and hydrate, resulting in a more tender crust.
-
Freezing: For longer storage, you can freeze the pie crust. Wrap it well in plastic wrap and then aluminum foil to prevent freezer burn. Frozen pie crust can be stored for up to 3 months.
-
Thawing: When ready to use, transfer the frozen pie crust to the refrigerator and let it thaw overnight. Alternatively, you can thaw it at room temperature for a few hours before rolling it out and assembling your pie.
-
Pre-baking: If your recipe requires a pre-baked crust, you can blind bake the crust straight from the freezer without thawing. Simply line the frozen crust with parchment paper or foil, fill it with pie weights or dried beans, and bake according to your recipe's instructions.
By mastering the art of making and storing pie crust, you'll be well-equipped to create delicious pies anytime, whether it's for a special occasion or simply to satisfy a craving. With a little practice and attention to detail, you'll soon be baking pies that are the envy of all who taste them.

